Most probably by now you have heard about GA4, Google’s “new” version of Analytics. This version, although not really new (it was previously called Analytics Web + App), comes with interesting features and you should start exploring it to stay ahead of the curve!
Follow the steps below and you will have access to a new GA4 property in no time. With no further redue let’s see:
How to set up you GA4 property and use GTM to implement it
There are two main areas we will talk about and those are:
- How to set up the GA4 Property – this will cover all the actions you have to undergo in your Google Analytics account.
- How to Implement it with the help of Google Tag Manager – this part will show you how to set up this property using GTM.
How to setup your GA4 Property
There are 2 main ways through which you can reach this objective. I will start below with the simplest one and below it I will list the second. As mentioned the first is the straightforward one but the second gives you the option to tweak some information right off the bat.
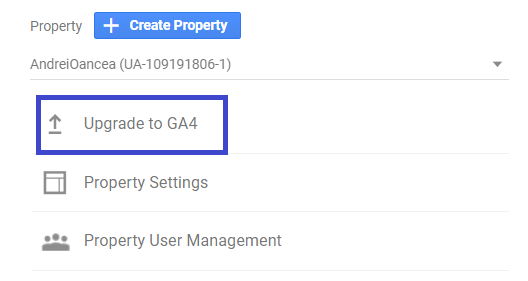
From your Analytics Home screen navigate to -> Admin. After the screen loads you will be able to see “Upgrade to GA4” as being your first option under the property tab.
Click the “Upgrade to GA4” option and you will be greeted with a screen that gives you more information about how you can accomplish this action. If this is the first GA4 property you create there will be only one viable option.

Click the “Upgrade to GA4” option and you will be greeted with a screen that gives you more information about how you can accomplish this action. If this is the first GA4 property you create there will be only one viable option.
Go ahead and click the “Get Started”.
Note: As mentioned in the information screen what this will do is simply take the settings from your current property and create the new GA4 property using those. If you want to tweak those you can either check out the second path to creating a GA4 property or you can change them after the process is done.
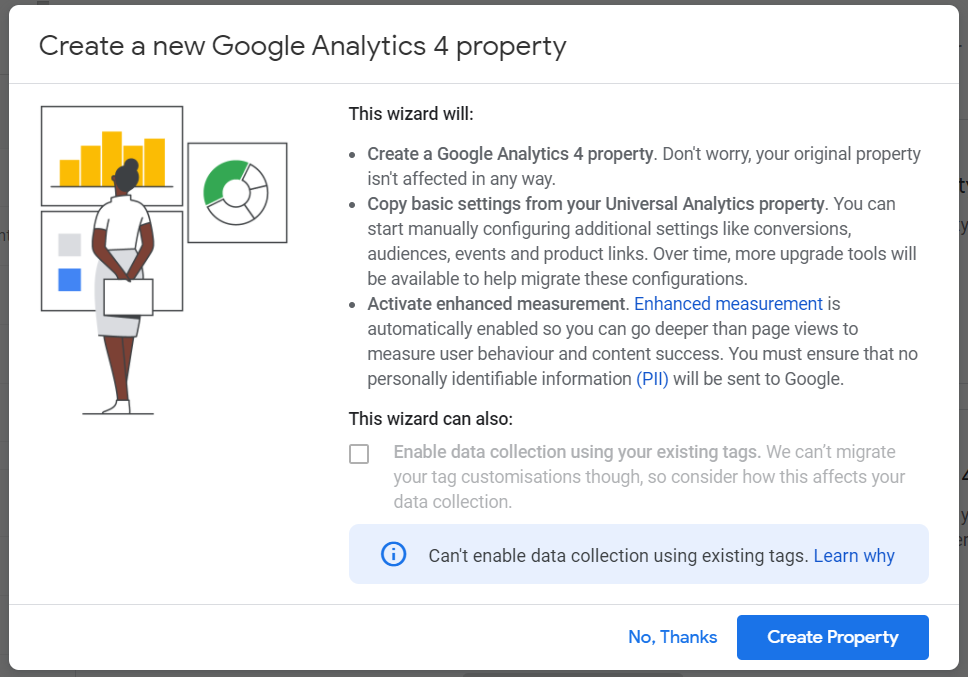
Another pop-up screen will appear (this is the last, I promise) giving you more information about the outcome of the process and mentioning that future updates will bring more features.
Click “Create Property” and that’s it. I guess congratulations are in order! 🥂

Now that the new property is created you will be greeted with the “Setup Assistant”, quite a useful screen which takes you through all the future steps you might want to take.
If you leave this screen you will always be able to come back to it by navigating to Admin. It will be the first option under the property column.
What about the second route?
If you already went through all the steps above you are set to move to implementing the code via Google Tag Manager.
But for the geeks out there (me included) there is another way through which you can set up your GA4 property.
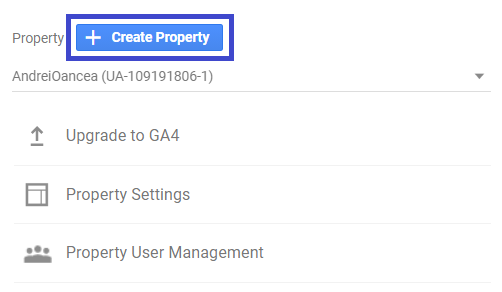
Your journey will begin in the same place as the Admin panel, but this time around avoid selecting the “Upgrade to GA4” option, instead click the “+ Create Property” button.
A different screen will open which will allow you to follow 2 steps and add information for the property.
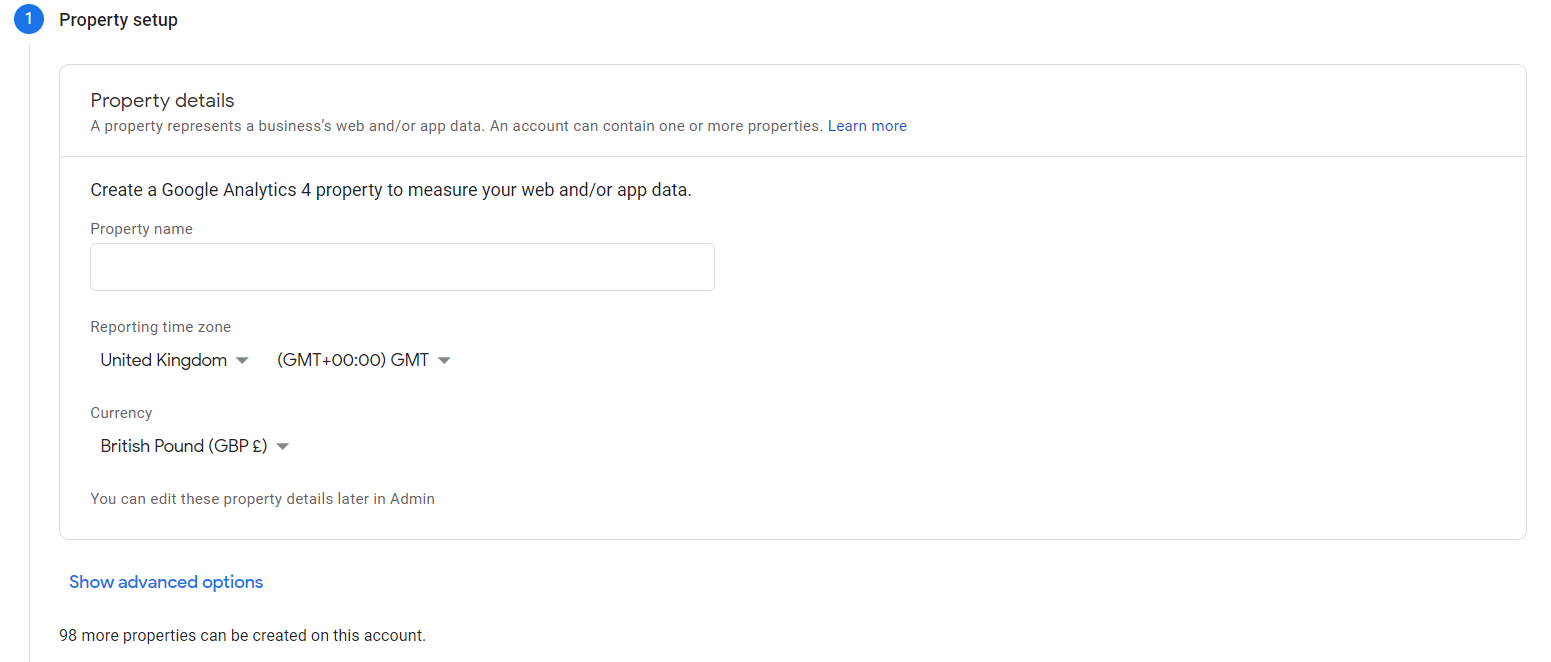
Complete the fields with the right information. In this screen there is a catch and I will talk just a little about it.
How to create a non-GA4 property
If you are a fan of the classical interface of GA and want to keep it so till future updates will be brought to GA4 you can still do this.
In the first step of setting up a GA4 property you will be presented with the “Show advanced options”. If you click it a screen will expand.
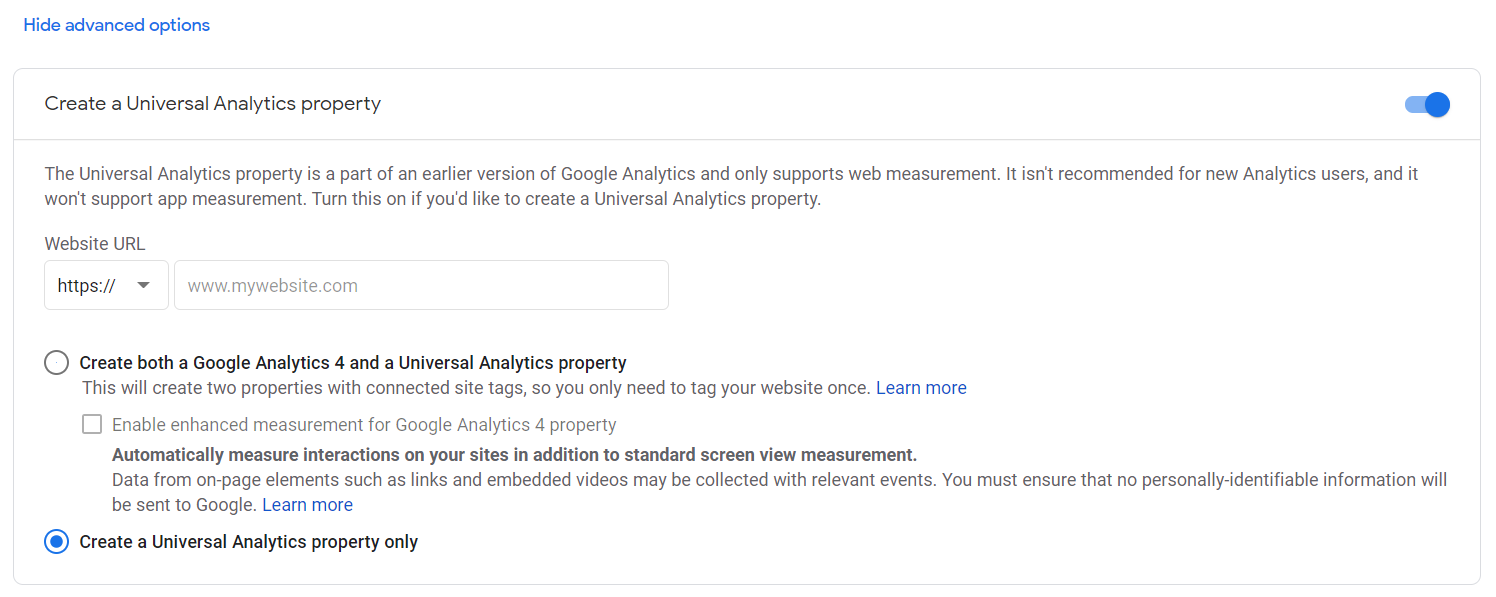
If you check this option and mark the “Create a Universal Analytics property only” option you will get a “classic GA property”
Coming back to our property creation the step 2 asks you for business information.
The information it’s optional thus you can simply go ahead and finish the setup process.
Now the property is created.


The last step implies the creation of a data stream for your property. I will assume that you have a website, like me, thus we will select the Web option.
Simply add your website URL and Stream name (you can choose anything here) and click “Create stream”. Now we are ready to move to the implementation step.

How to Implement GA4 with Google Tag Manager
Now for the fun part. If you went either route you are now ready to start the implementation process.
For this navigate to Admin -> Data streams, under Property column.

Here you will be able to view the available data streams. Select the one you’ve created or that has been auto created for you.
Here you will be met with a myriad of information. Don’t worry about it, just focus on the 2 options under “Tagging Instructions”, those being:
“Add new on-page tag” this option is the best if you have no code already installed in the website (Google Analytics or Google Tag Manager);
“Use existing on-page tag” if you already have a GA property on the website or a GTM code you should go this route.
We will explore the second option.


Navigate to the Use existing on-page tag and copy the code starting with “G-….” from point 4.
Open Google Tag Manager account and select “New Tag”.
For the tag type select “Google Analytics: GA4 Configuration”, under Measurement ID paste the copied code above and under triggering select “All Pages”.
Click Save and the tag information will be saved.

Note: As a further step I would recommend testing the code in preview mode before deploying it live on the website. I will do a full article about how the preview mode works and how you should set up and check the tags with GTM.

To finish the process click the “Submit” button and then the “Publish” button (upper-right) in the newly opened screen.
Congratulations, everything is set up and enjoy the new GA4 experience!


